
-
Recent Posts
Shaders & Materials
Zbrush
Research
Concept
3D Printing
Category Archives: Uncategorized
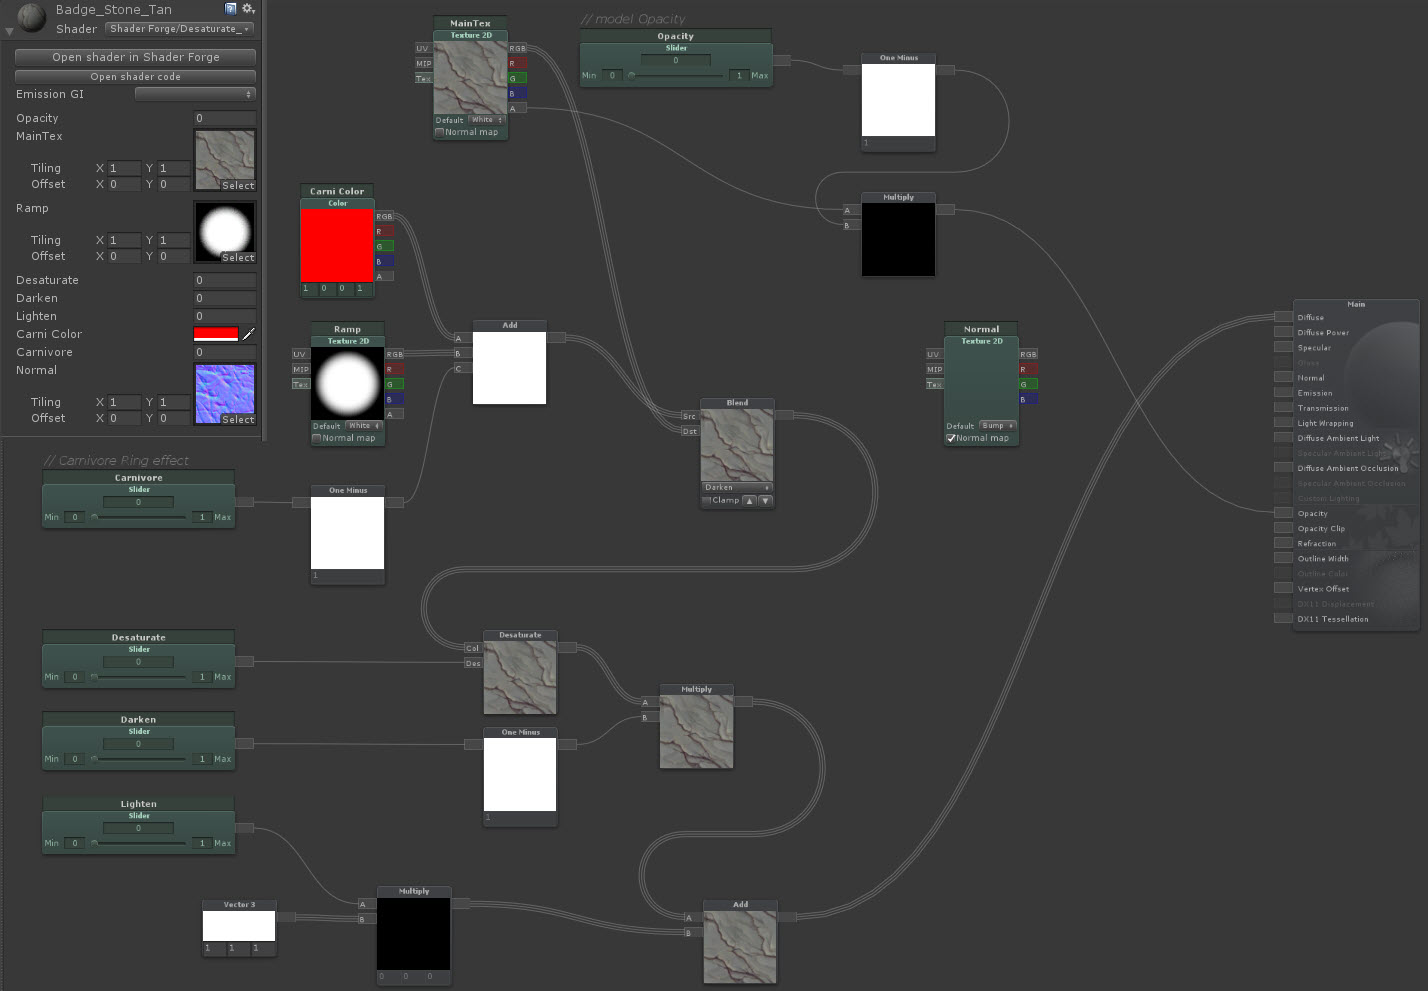
Effects shader
This shader was developed to enable a 3D object in a Unity scene to do several effects. Opacity allows for it to turn transparent via a value. Desaturate removes RGB values and leaves a grayscale, brightness and darkness are input values that allow control of the RGB levels. There is also a ramp and color that can be applied over the top of the UV space. In this case, it allows for a red “ring” to appear around the edge. Built in Shader Forge for Unity.
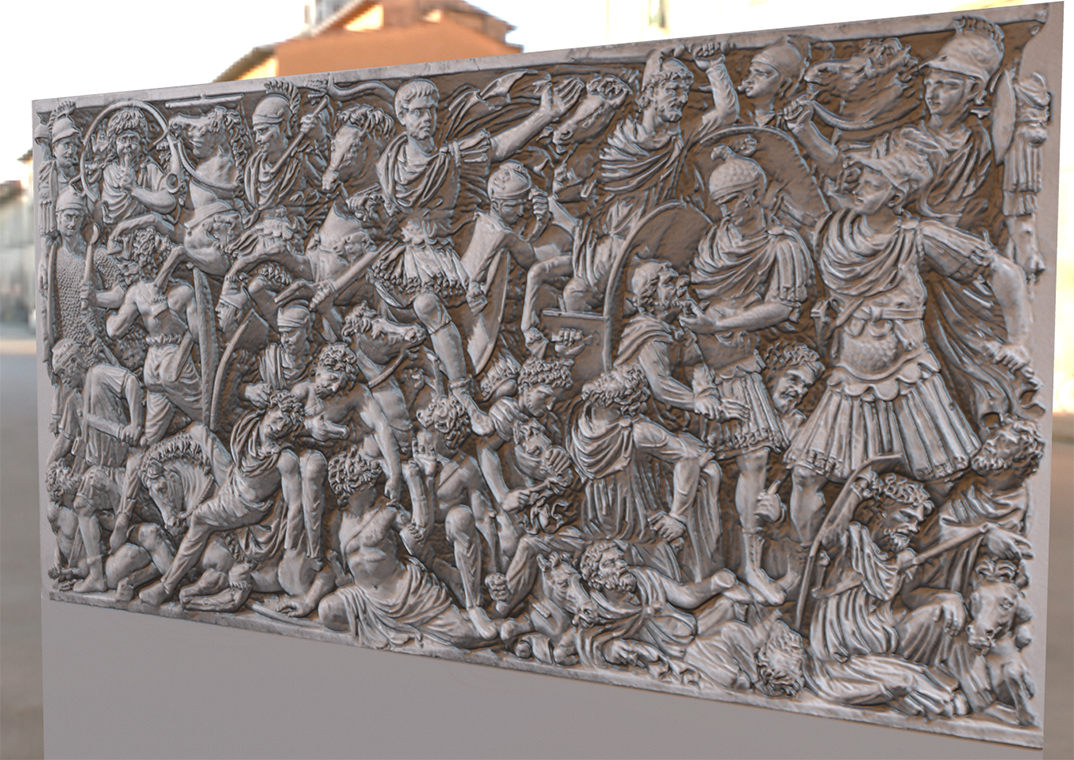
Bas Relief from photo
This is a test to see how well I can extrapolate 3d information from a single photo. This first pass is with a straight diffuse, taken into ndo2 and extrapolating the normal and displacement information. Then, it was put into zbrush and the displacement was applied to a 1+M poly plane. That was saved out and xNormal was used to extract a more accurate normal out of the high poly mesh so that it could be used on a low resolution 2 poly mesh, similar to an in-game asset. xNormal was also used to generate an additional AO map from the high poly mesh. The results were then set up in Marmoset. The low poly plane was added, and the diffuse (albedo), normal, AO and displacement maps were set up in a simple material & adjusted.
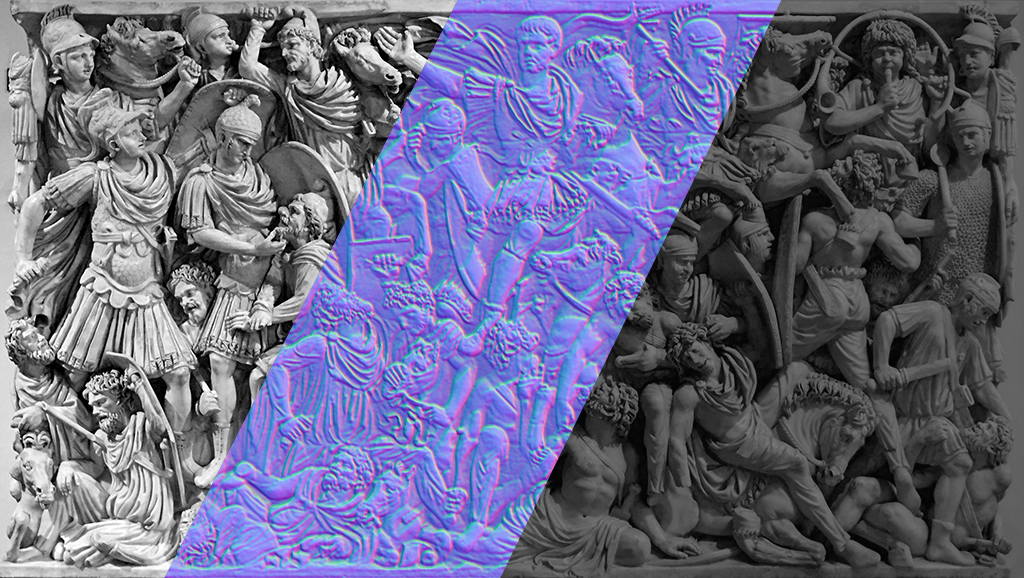
This is the diffuse, normal & displacement map pulled from the original image, plus the output from xnormal.

This is the render from Marmoset Toolbag 2.
Next test will involve more work at shadow removal before pulling the displacement map. Also, ndo2 has quite a few variation presets. I’ll check those out to see if any of them yield a better result.
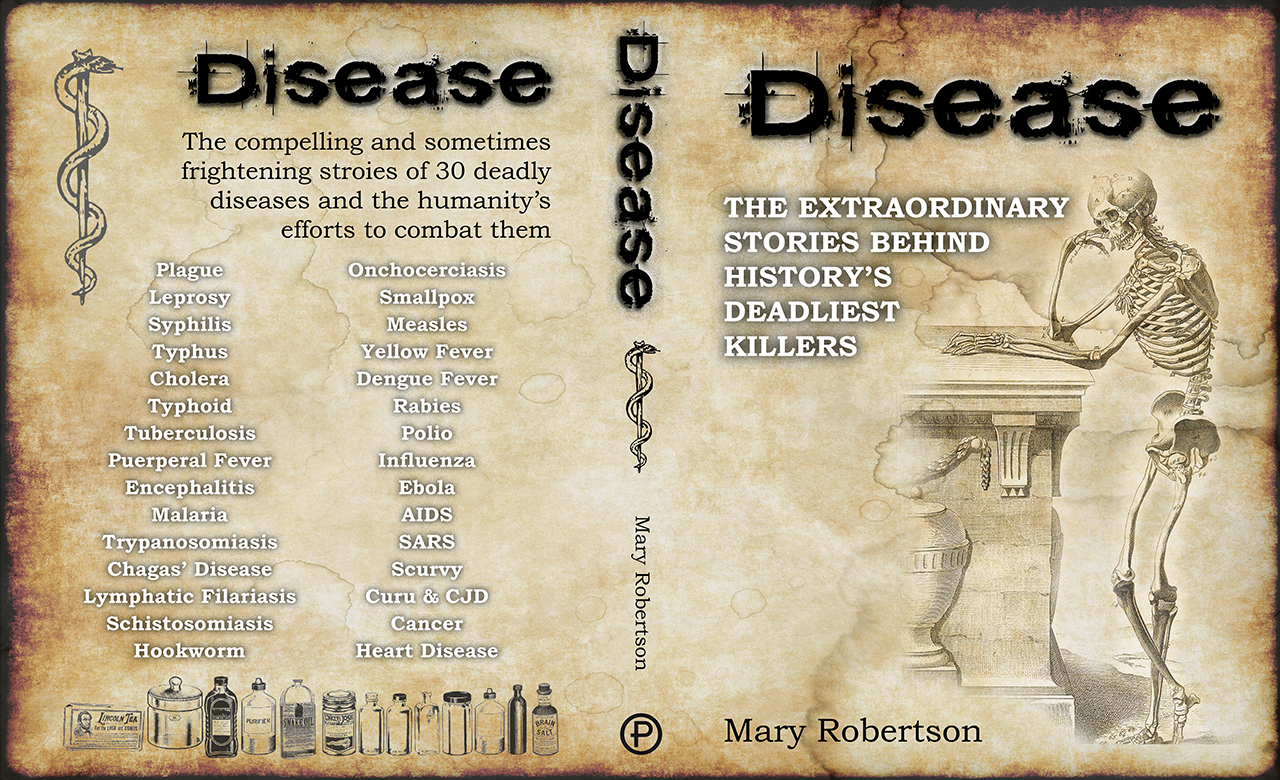
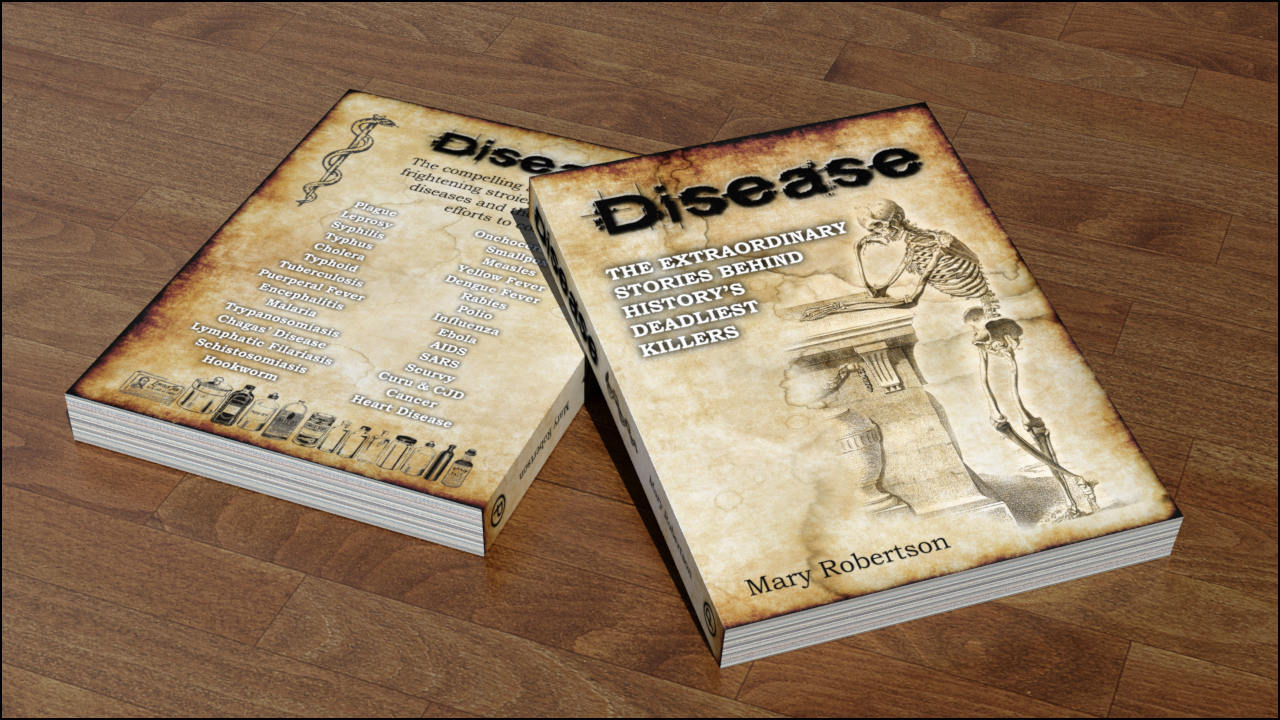
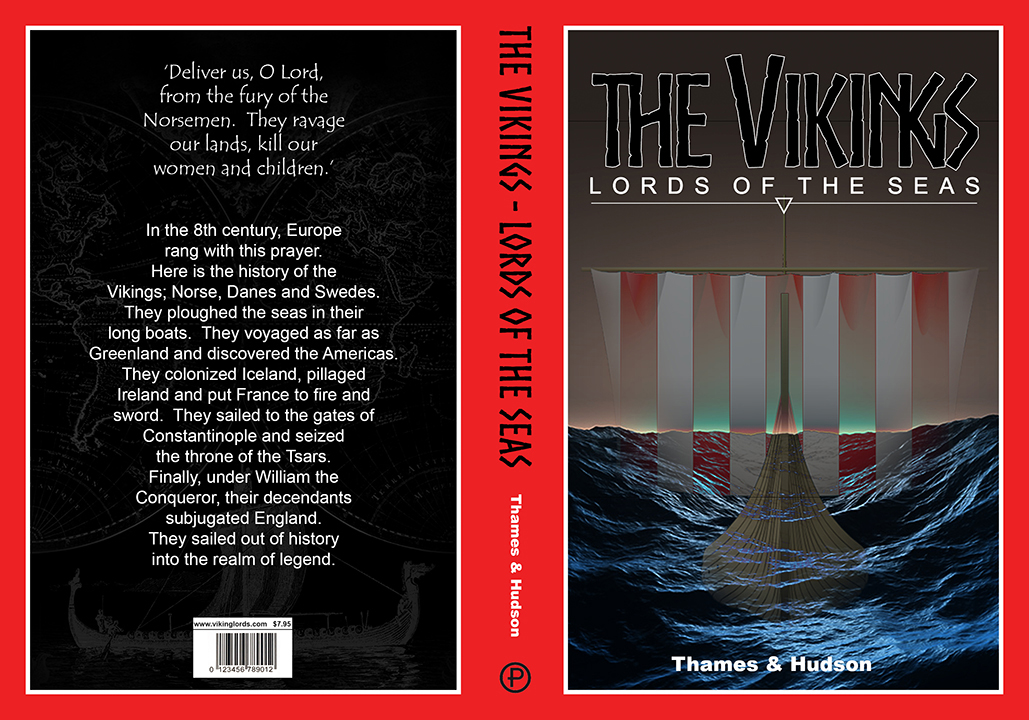
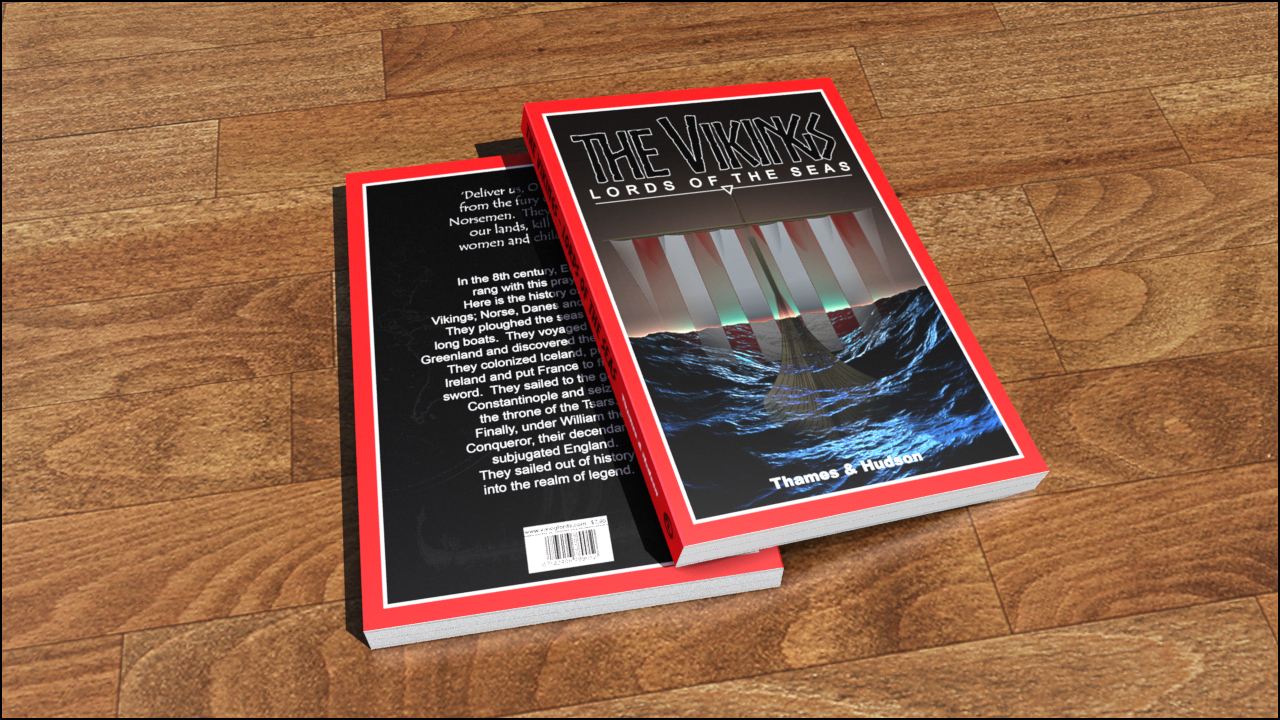
Book cover concepts
This project involved redesigning the front, spine and back of several book covers.
Character Concepts
Character ideas for a prototype casual game design.
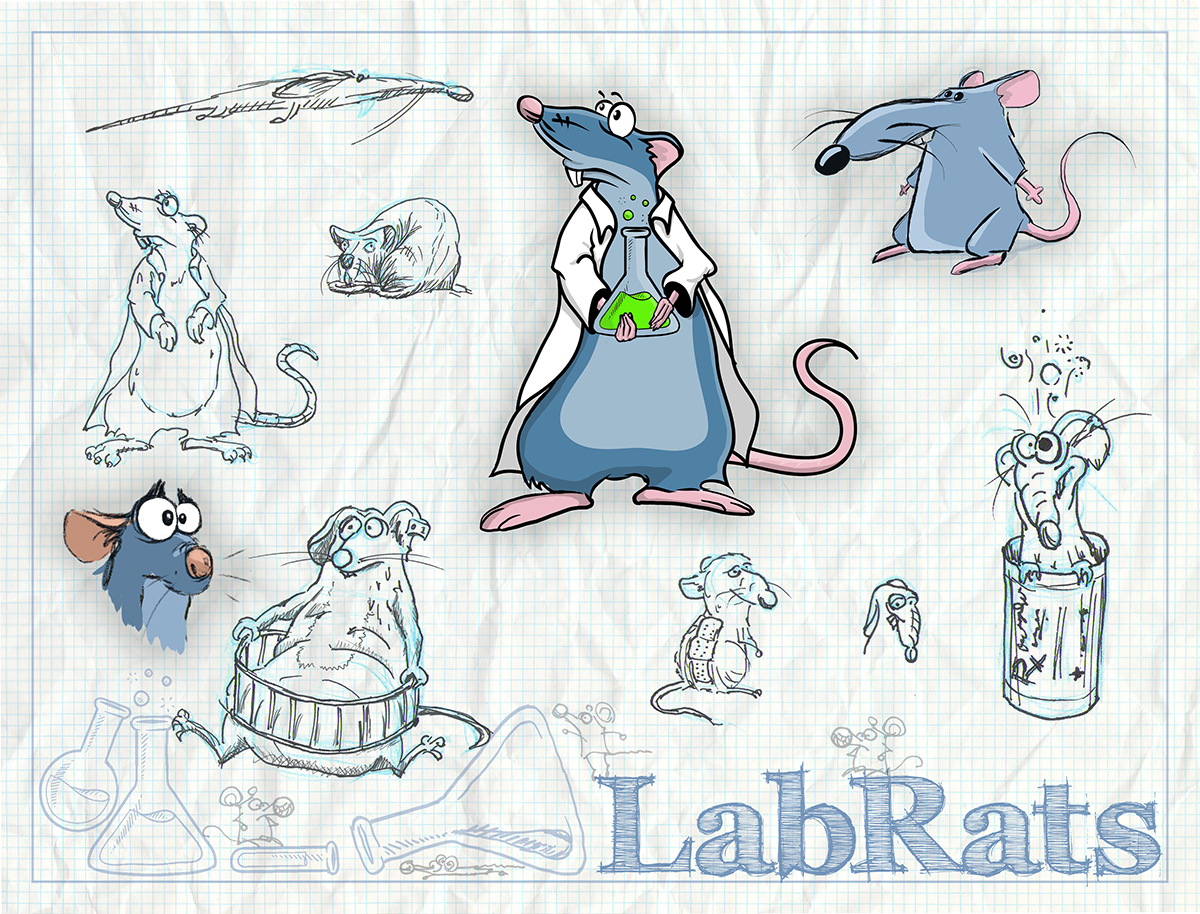
Some sketches and colorized concepts.
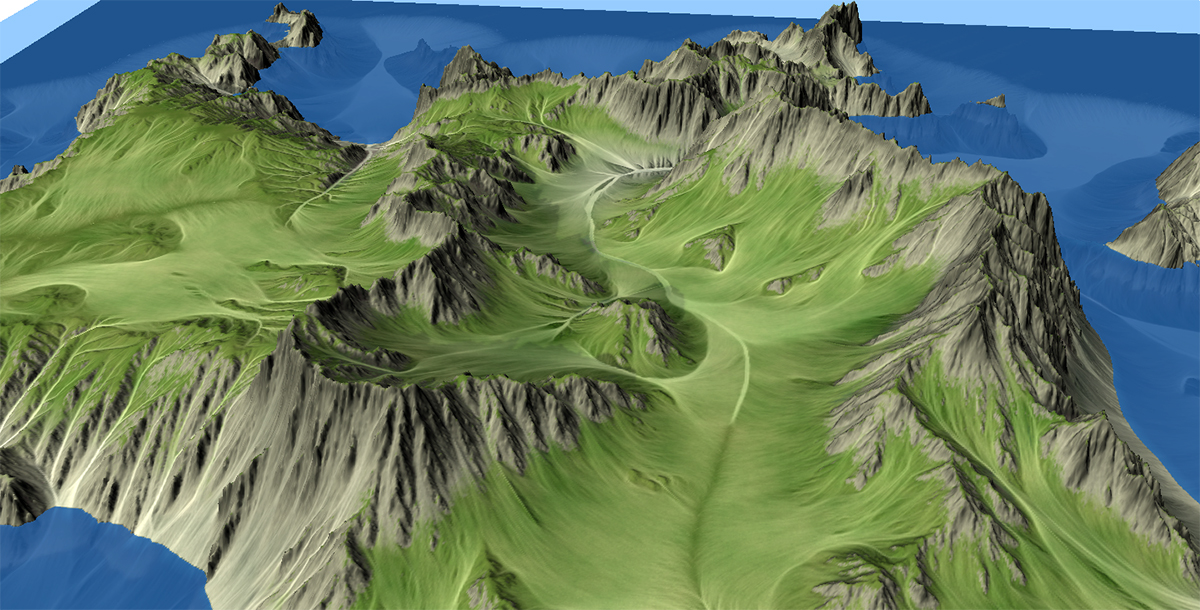
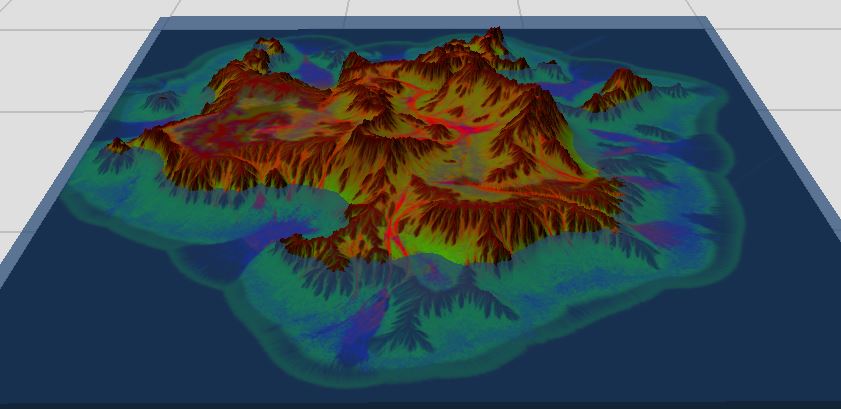
World Machine & Splatmaps
World Machine is a very powerful node-based editor that allows for the creation of very complex and realistic landscapes and terrain. One of the recent features it has is called a splat map, which can also be known as a weight map. These are black and white masks that match the terrain, and break out areas by height, slope angle and other parameters. When set up properly in an engine like Unity, it allows different textures masking in a very realistic manner, that follows the height map information closely. Below is the height map information displayed in World Machine, with colorization done by slope & height masking.
Below is the same file, with a pass at the splat map breakout. Each channel (R,G,B, A) has a specific slope or height data. The combined file is set up in Unity, then the terrain textures are fed into each channel of the splat map.
The Photogrammetry of Frankenstein…
I did this awhile back, with software that has since been updated. I created a 3.5″ tall sculpt using Sculpey applied over an aluminum foil armature of the head & shoulders. It was detailed and then fired in the oven to harden it.
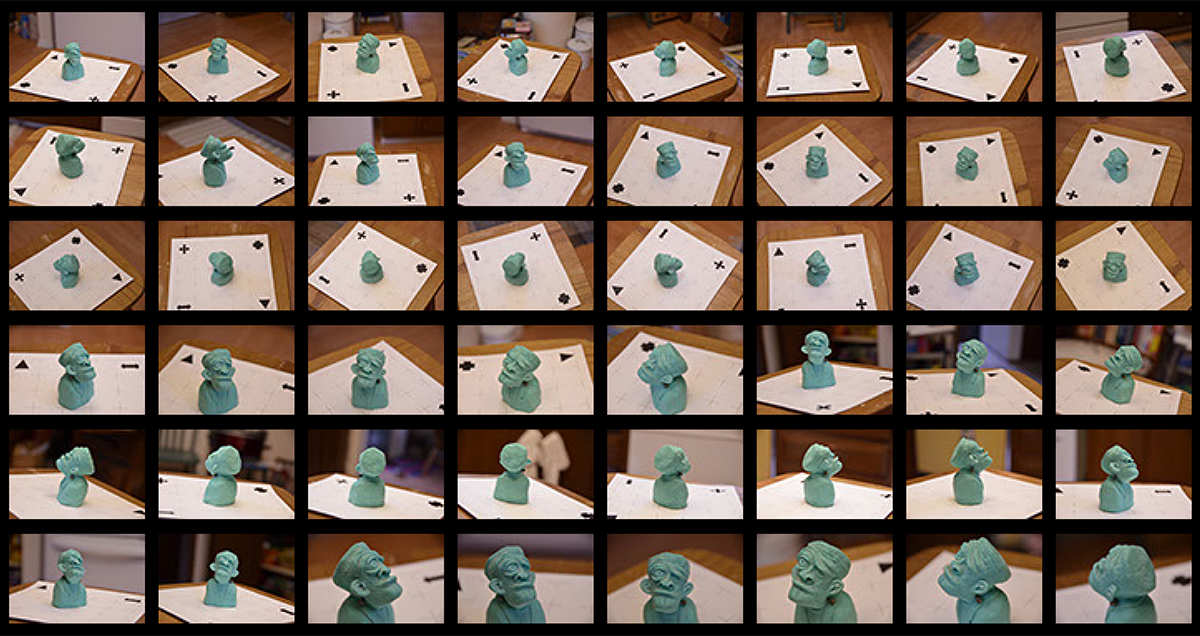 To generate the 3d mesh, I used 123D Catch by Autodesk. I placed the head on a printed paper with reference marks, then photographed it from various angles. One thing I found I did wrong was not set the depth of field deep enough, so I got blurring on my reference images. After I created 30ish images, they were fed into 123D Catch where it generated a point cloud of data points. It then created an averaged mesh from the cloud. Odd thing is you have to upload your mesh, wait for their servers to build it and then they can post it on their site. I’m not really a fan of that workflow. It brings into question ownership.
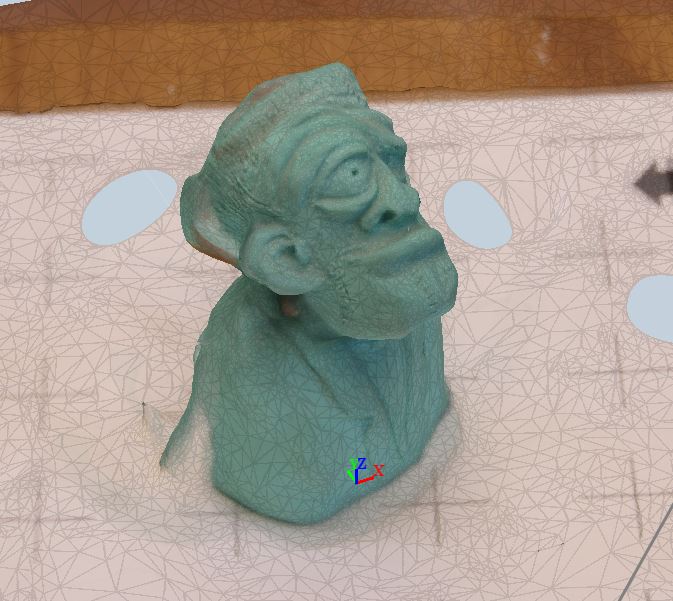 I fed that file into 3DS Max and cleaned up holes and a few anomalies as well as capping off the base. The file was then imported into Zbrush where it was re-topologized.
 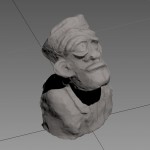 I added eyes and a simple metal electrode to the neck. Using Dynamesh, I was able to reset the topology distribution and flesh out a bit more of the details. It still has some work to do, but the process worked reasonably well to block in a mesh from photographic source.
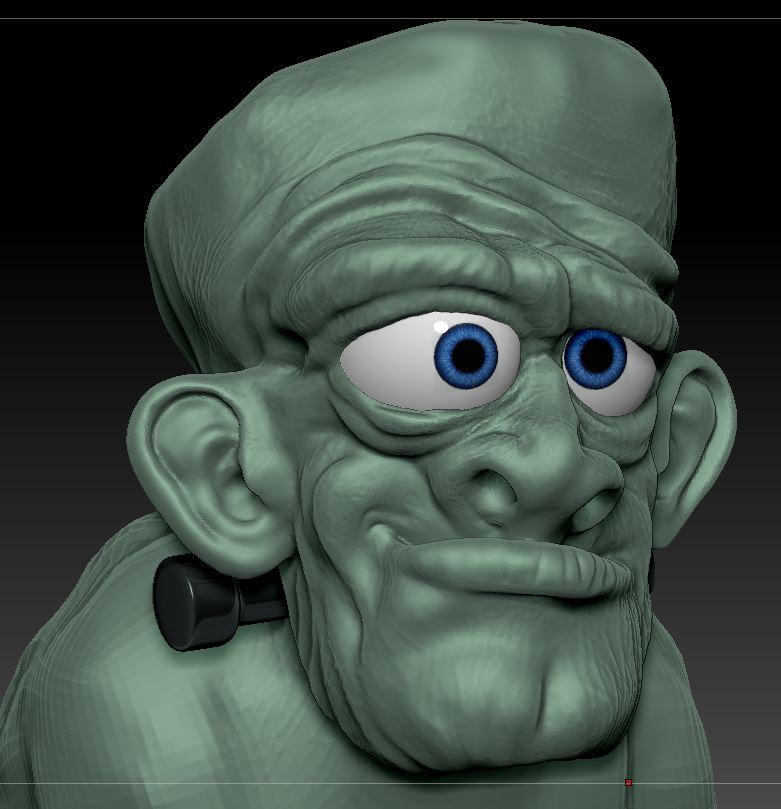
